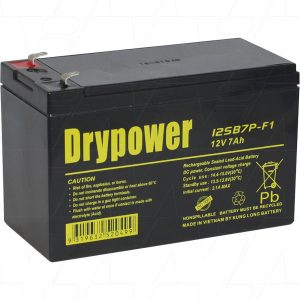
Remco RM12-7.2 12V 7.2AH Stand By The Standby range are specially designed for Standby and Backup Power Supply applications and are the ideal replacement solution for Home Alarms, Backup & Emergency Lighting and Children’s Ride-On Toys.
Product Details
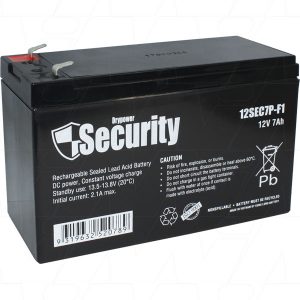
| Model No | 12SEC7P-F1 | ||
| Inventory Code | 60000-973SEC | ||
| Categories | Sealed Lead Acid (SLA-VRLA) Batteries Sealed Lead Acid Valve Regulated (AGM) Batteries Cyclic & Standby Type Sealed Lead Acid Valve Regulated (AGM) Batteries Standby Type |
||
| Selling Unit | EACH | ||
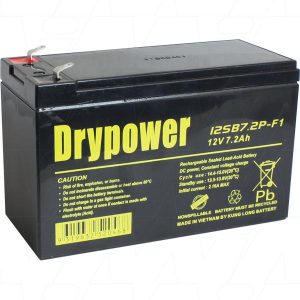
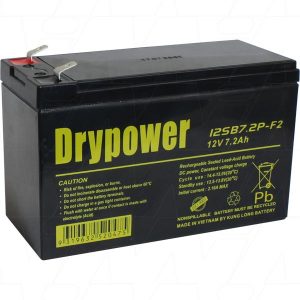
| Description | SECURITY by Drypower 12V 7Ah Sealed Lead Acid Battery for Alarm Systems. Replaces BP7-12, PS1270S, DM12-6.5, DM12-7, FG20721, CBL12V7.0AH, LP12V7AH, LP12-6.5, LP12-7.0, LPL12-6.5, WP7-12, NP1270, PB12/7, PS-1270, RM12-7.2, RT1270E, CP1270 | ||
| Application | Backup and Standby Use | ||
| Chemistry | Sealed Lead | ||
| Voltage | 12V | ||
| Nominal Capacity | 7Ah | ||
| Watt Hour | 84.0Wh | ||
| Termination | F1. Click Datasheet link or Drypower Battery Termination Guide link below for further information | ||
| Width | 65mm | ||
| Height | 94mm | ||
| Length/Breadth/Depth | 151mm | ||
| Weight | 2200g | ||
| Brand |  |
||
STEP BY STEP PROCEDURE TO CHANGE YOUR HOME ALARM BATTERIES
The majority of home alarm batteries are 12 Volt 7 Amp Hour the batteries are 150mm long 65mm wide and 95mm high, available from Batteries Direct the batteries will always be the same dimensions however the Amp Hour rating of the battery may vary between brands this does not affect the performance of the alarm.
When the Battery light shows it is time to replace the battery this is usually every 3-5 years
The usual procedure to change the battery is:
1. Open the panel (the battery is usually located inside)
2. The Tamper alarm will sound
3. Enter your Pin Number this will turn the alarm off
4. Check the battery Part Number, Size, Voltage and Amp Hour rating of the battery
5. Close the Panel Re-Enter your Pin Number to set the Alarm, then in some cases again to put the alarm on standby
When you have purchased your 12 Volt 7 Amp Hour battery repeat 1-3
6. Take care not to pull on the wires when removing the battery connectors and make sure you replace them on the corresponding terminal of the new battery
Then repeat step 5


Reviews
There are no reviews yet.